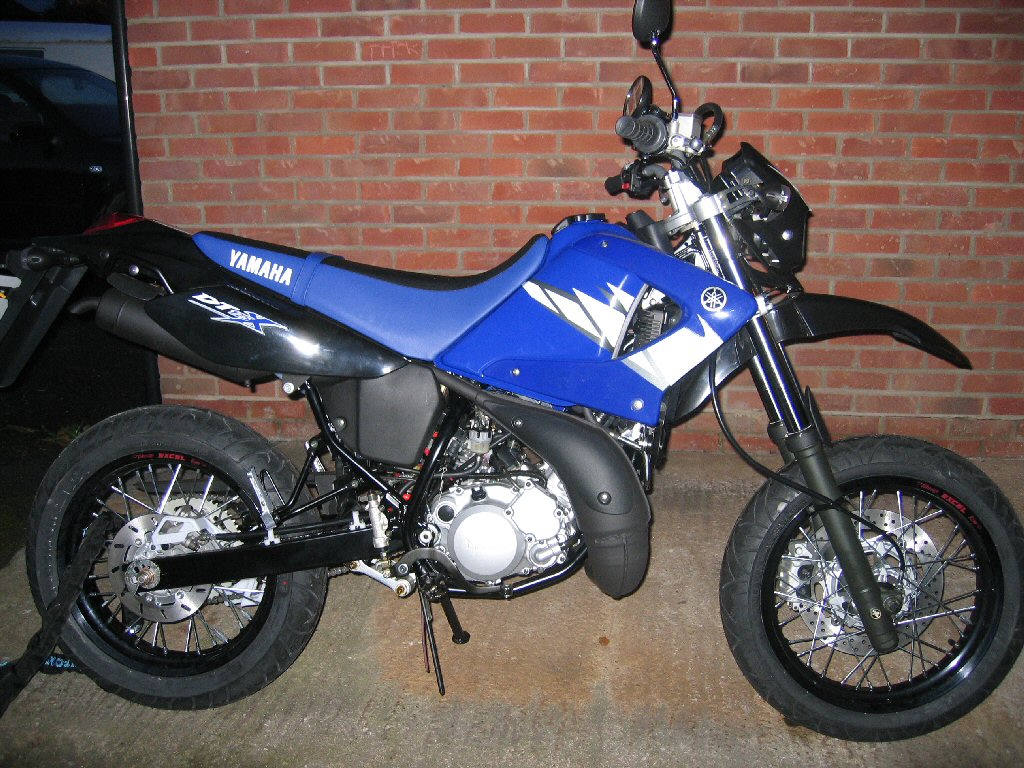
My Motorbike
Here's a picture of my brand new Yamaha DT125X:
Here's a description of my kit:
| Helmet | Shoei XR-1000 | |||
| Boots | Daytona Road Star GTX | |||
| Jacket | Frank Thomas FTW223 Aquaguard Glide | |||
| Trousers | Frank Thomas FTW159 Aquaguard Endurance | |||
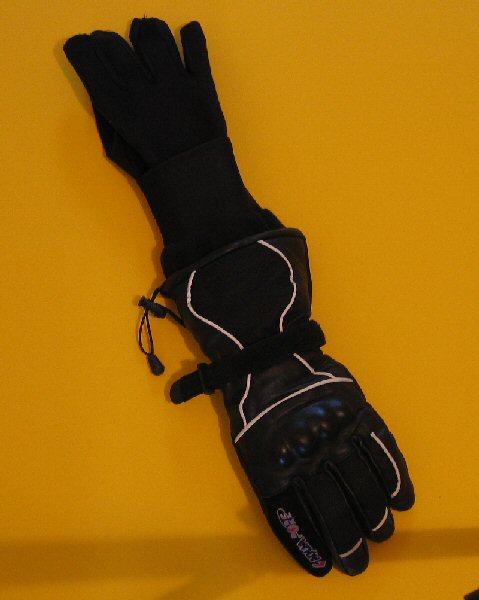
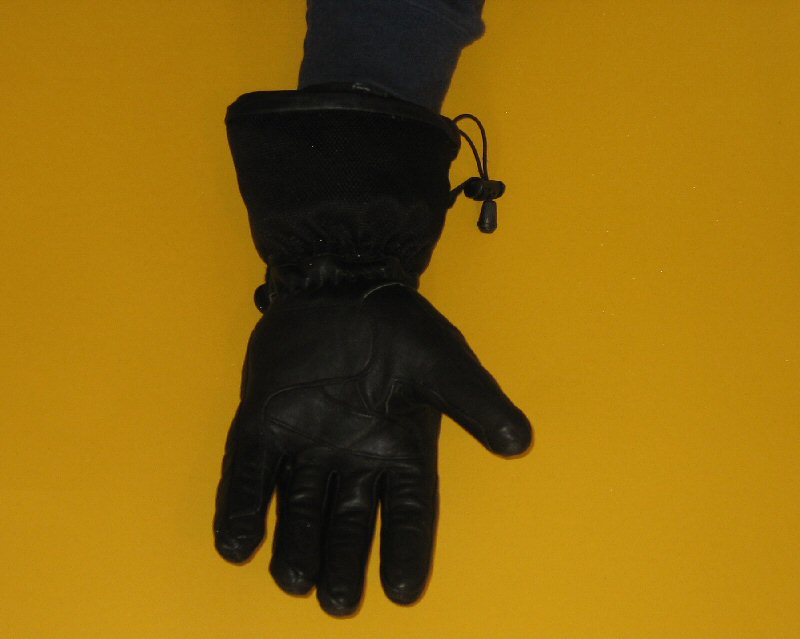
| Gloves | Frank Thomas H20090 Aqua Therm | |||
| Armour |
| |||
| Security |
|
Modifying my Gloves
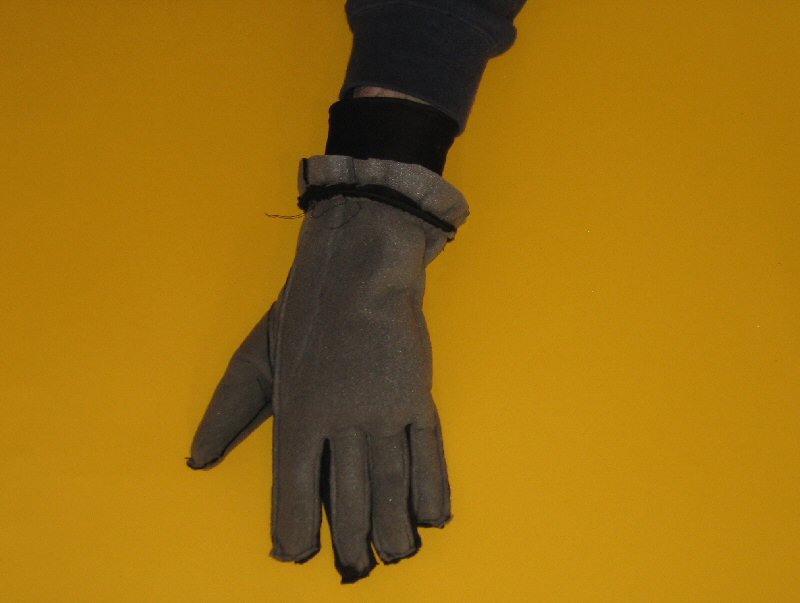
My gloves provide protection with leather and reinforced knuckles, warmth with goretex, and waterproofing with a waterproof layer. Protection, warmth and waterproofing are the 3 basic properties of a quality glove.The downside to warm gloves is that they can cause your hands to sweat a lot. The sweat can end up soaking into the goretex layer which doesn't dry out easily due to the waterproof layer (the waterproof layer keeps the sweat in the glove).
To make my gloves easy to wash and dry I decided to seperate the 3 layers of the glove. This also has the advantage that during the summer I can remove the goretex and waterproof layers completely and just use the leather layer on its own. The leather layer also contains some goretex and padding of its own which actually makes it a comfortable layer to wear on its own. It would also be possible to replace the layers with different types if needed.
The following sequence shows how I seperated the layers of my gloves.
 |
The inner goretex layer is held in place by somesort of double sided sticky tape at the end of each finger. If you use a bit of force you can pull the goretex layer out of the glove itself. You should pull each finger out individually to prevent tearing the goretex layer. |
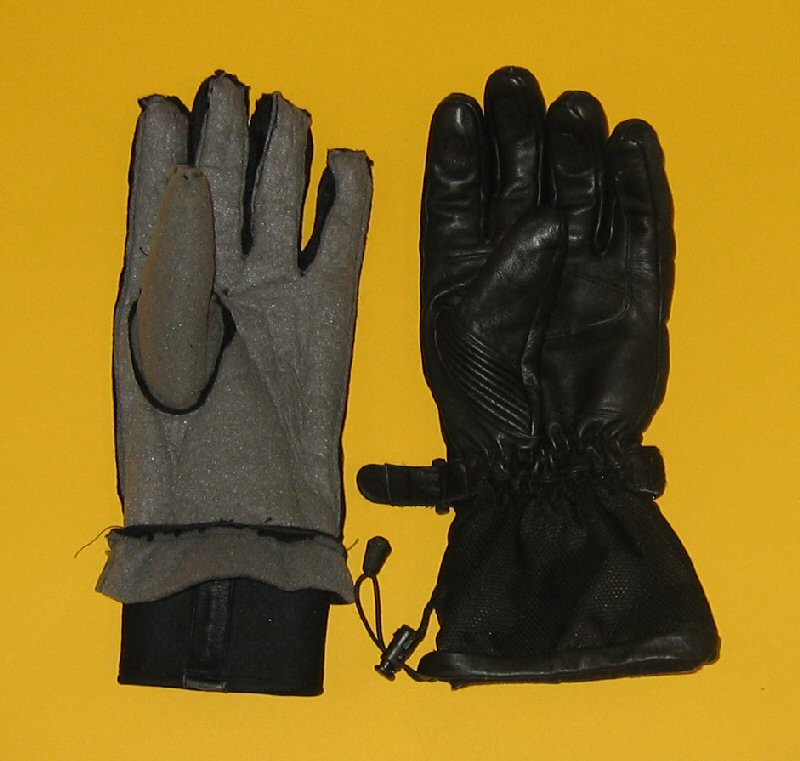 |
By cutting the goretex layer with a pair of scissors you can completely seperate it from the glove. You should cut the goretex layer fairly close to the leather glove as that will make wearing the goretex layer easier. |
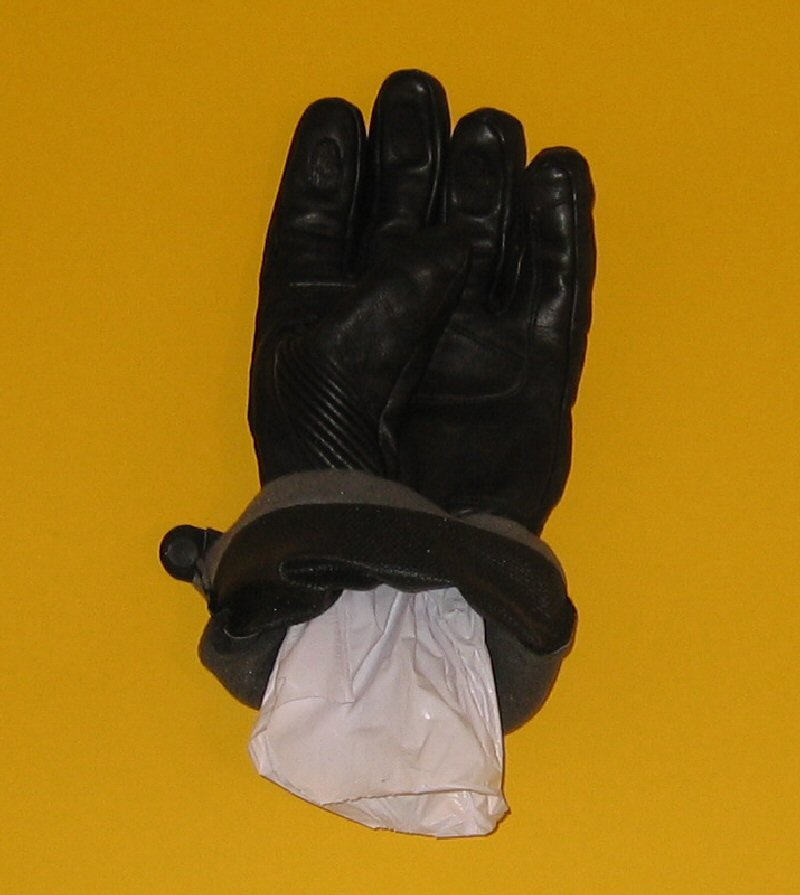 |
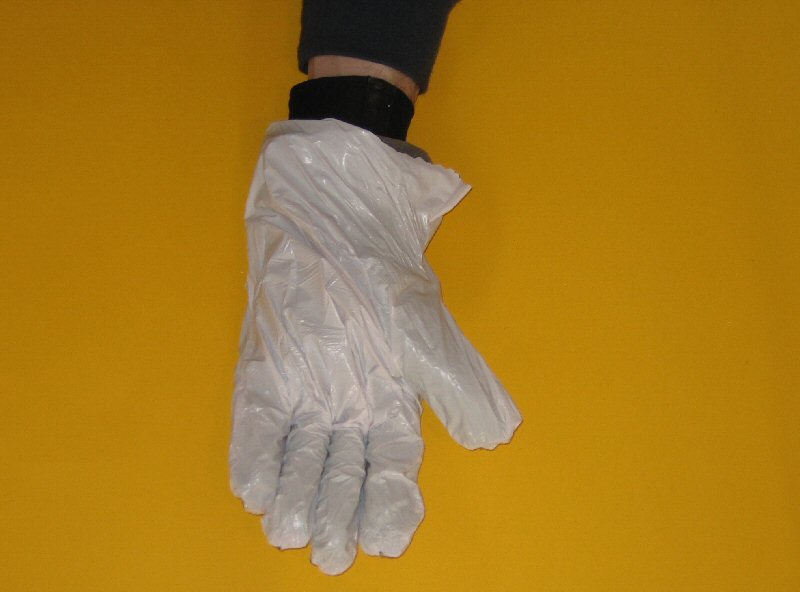
Once the goretex layer has been removed you should have access to the waterproof layer inside the glove. The waterproof layer is held in place in a similar way to the goretex layer (double sided sticky tape at the end of each finger). Removing the waterproof layer is a bit more difficult though as the waterproof layer is more fragile and is stuck in place more firmly. If you just try and pull the waterproof layer out you will tear it. |
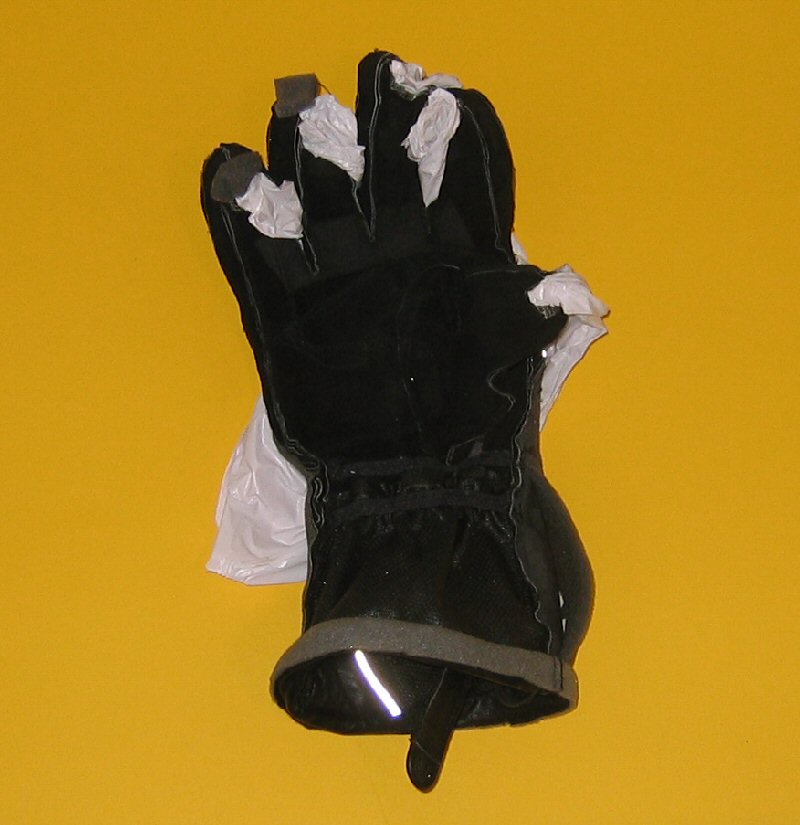 |
The easiest way to remove the waterproof layer is to turn the leather glove inside out. This is more difficult than it sounds due to the thickness of the glove, although it can be done with a bit of time and effort. Once the glove is inside out the waterproof layer should be hanging on the outside. You can now gently pull the waterproof layer off. |
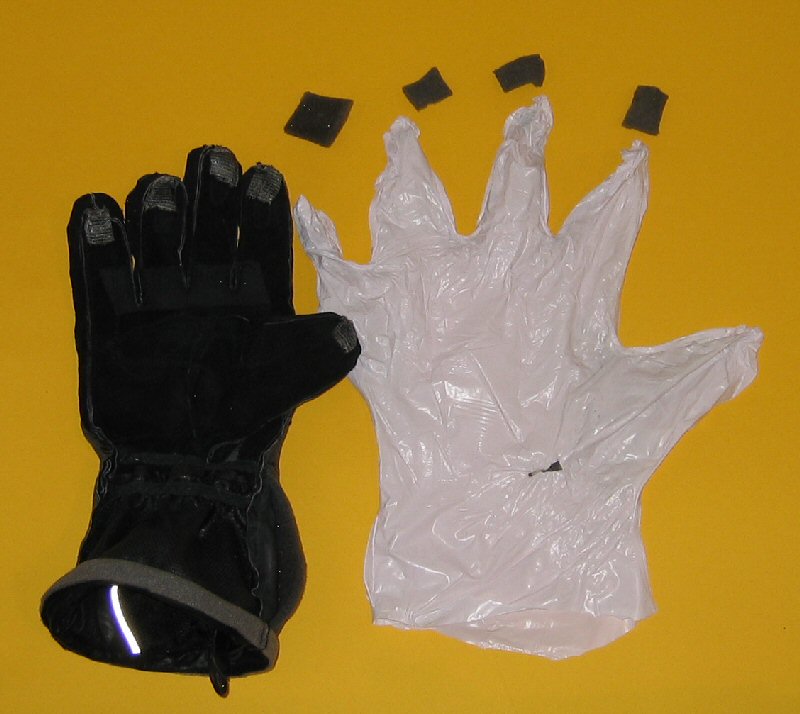 |
There's also some extra padding at the end of each finger tip which can also be removed. I find the glove fits better without this extra padding but that's just a personal preference. |
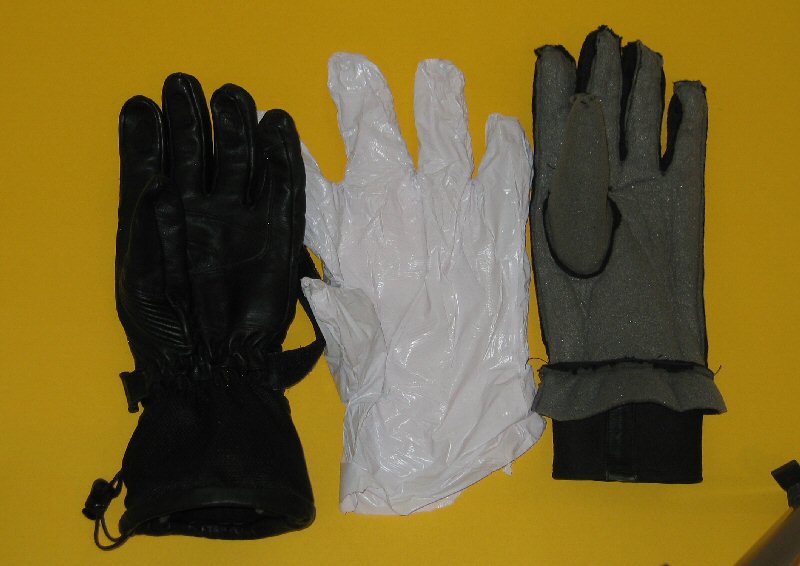 |
You should now be left with the outside leather layer, the waterproof layer and the goretex layer. You can now add and remove the layers as and when you wish. You also makes washing and drying the glove much easier. |
The following sequence shows how the glove can be restored to its original state by first putting on the goretex layer, then the waterproof layer, and then finally the leather layer.
| 1 | 2 | 3 |
 |
 |
 |
| Home |